
How to Do a Cartwheel: A Safe Beginner Progression
Learn a cartwheel through safe side-to-side drills, clear hand placement, a controlled leg split, and a filmed practice check.
Better Form editorial team
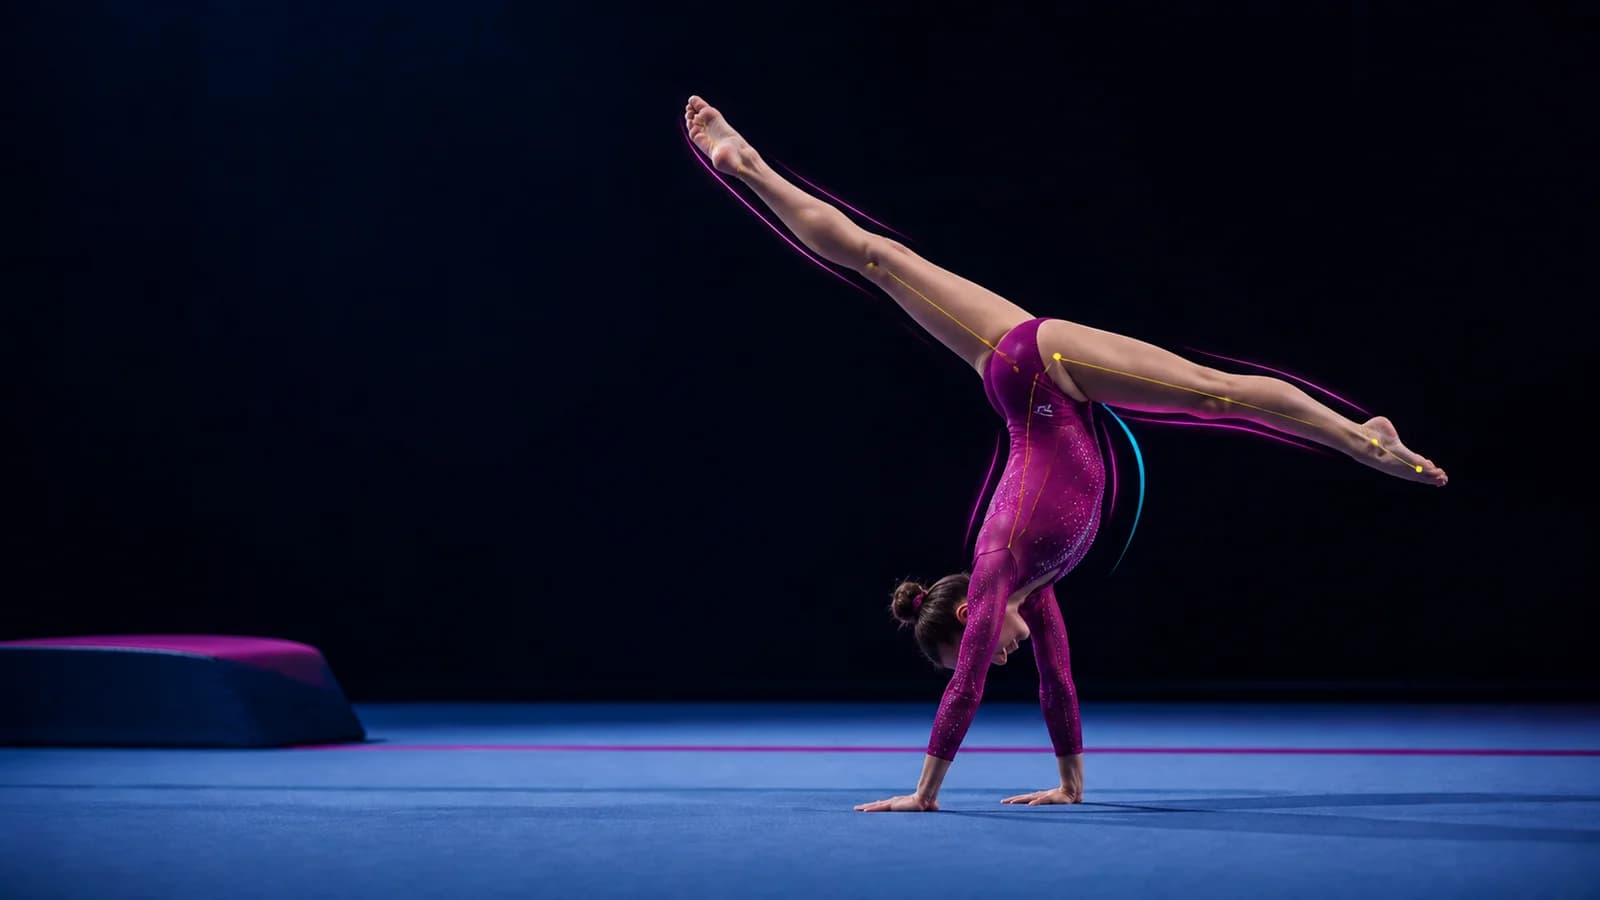
To do a cartwheel, start in a lunge, reach your first hand to the floor, place the second hand in line, kick your legs over one at a time, and land one foot after the other while facing the opposite direction. Learn the sideways pathway close to the ground before you try to make the legs vertical.
Practise on a clear gymnastics mat with suitable equipment and enough space. Use bright, even lighting and a qualified coach when you can. A video can help you see the sequence, but it cannot make an unsafe surface safe.
Check that you are ready to invert
A cartwheel briefly asks both arms to support your body while your feet pass overhead. Before you attempt the full skill, check three simpler actions:
- Hold a strong front lunge with your arms beside your ears.
- Support your body in a bear position without collapsing through your shoulders or elbows.
- Step your feet from one side of a low line to the other while both hands stay on the mat.
If those actions feel unstable, keep the feet low and ask a coach to help you. You do not earn progress by forcing a bigger kick.
Clear jewellery and hard objects from the area. Tie back long hair. Use a non-slip gymnastics surface with space on every side. A bed, sofa, concrete patio, wet grass, or crowded room creates poor hand support and unpredictable landings.
Choose your lead side
Try the first low drill on both sides. Many people prefer to lead with the same leg they naturally place forward in a lunge, but you do not need to guess from handedness.
For a left-leading cartwheel, you generally place the left hand first, then the right hand, and land the right foot before the left. A right-leading cartwheel reverses that order. Keep one direction for a practice set so you can compare repetitions.
Learn the cartwheel in four stages
1. Sideways step-over
Place both hands on a low, stable mat block or floor marker. Step your feet from one side to the other without trying to pass overhead. Keep the sequence clear: first hand, second hand, first leg, second leg.
This drill teaches direction. Your hands and feet should travel along one narrow lane instead of scattering around the mat.
2. Donkey kick to the side
Start with both hands on the mat and make a small sideways hop. Lift one foot, then the other, while keeping the hips low enough that you stay in control. Land softly with one foot before the other.
Do not turn this into a double-leg buck. A cartwheel needs a split action, not two feet travelling as one block.
3. Baby cartwheel
Start in a shallow lunge. Reach sideways, plant the first hand and then the second, and kick the legs around the side. Your hips do not need to stack above your shoulders yet. Finish in a lunge facing back toward your starting point.
A GymnasticsHQ cartwheel guide uses a similar low “baby cartwheel” before the full vertical version. That progression solves the fear and direction problem before it asks for height.
4. Full cartwheel
When the low version stays controlled, reach farther through the lunge and kick the first leg upward. Push the floor away through straight arms. Let the second leg follow so the legs form a wide split as they pass overhead. Land the first foot, then the second, and lift your chest into the finishing lunge.
Do not chase a long handstand pause. The legs should continue through the skill. The rhythm is continuous: reach, hand, hand, foot, foot, stand.
Use hand placement to control the direction
Place your hands shoulder-width apart along the same travel line. Turn them enough to support the sideways rotation, but keep both palms fully connected to the surface. Your fingers help you balance and push.
If the second hand lands far away from the line, your body will often twist or travel diagonally. Mark two hand positions with removable floor tape on a proper mat. Remove the tape when you finish so nobody trips on it.
Keep your elbows straight without forcing them backward. Push tall through your shoulders instead of sinking your head between them. If you cannot support that position comfortably, return to the low step-over.
Fix the four common beginner problems
Your legs bend
First check the kick, not your toes. A weak first-leg drive leaves too little time for the second leg to follow. Practise a stronger split action at low height, then straighten the knees only while you can keep control.
You land in a squat
Your hands may stay on the floor too long, or the second leg may trail behind. Push the floor away after the legs pass the top and look toward the finishing direction. Finish one foot at a time.
You travel forward instead of sideways
Aim the lunge and hand line across the mat, not toward the far wall. Reduce the kick and rehearse the exact hand-foot order. A straight floor line gives you better feedback than a verbal cue alone.
You are afraid to kick up
Do not let someone throw your legs over. Build the low progression until you can predict where each hand and foot will land. Ask a qualified gymnastics coach to spot you in an equipped gym.
Film one useful cartwheel set
Place your phone well outside the landing area. Use a stable side-on view that shows your full body, both hands, both feet, and the entire mat. Record three to five controlled repetitions rather than one dramatic attempt.
Review the clips in this order:
- Did you use the same hand-hand-foot-foot sequence each time?
- Did both hands land on the intended line?
- Did the first leg lead and the second leg follow with visible separation?
- Did your elbows stay straight and your shoulders support the position?
- Did you land one foot at a time without stepping off the mat?
Choose one correction. If you change your lunge, hands, kick, head, knees, and landing together, you will not know what helped.
Once the low progression feels predictable, Gymnastics AI lets you upload training video and review a form score with gymnastics-specific technique feedback. Record one normal rep from the same side each time, open the cartwheel technique page, and take one visible correction back to the mat. The product page currently shows no public App Store link, so check availability there instead of assuming you can install it today.
What a video cannot tell you
A single camera view can hide depth, hand pressure, fatigue, and the quality of the surface. Clothing, blur, and overlap can also make body landmarks look wrong. Treat automated feedback as an observation to verify across repeatable footage.
The World Gymnastics rules library defines formal competition documents, but a beginner still needs suitable coaching and equipment for skill learning. USA Gymnastics also publishes participant-welfare and Safe Sport resources for the environment around training.
Before you start, clear the mat area, secure the phone well outside the landing zone, and use bright lighting and suitable training equipment.
A 15-minute beginner session
Minutes 0–4: warm up with easy wrist, shoulder, lunge, and bear-position movements that you already perform comfortably.
Minutes 4–8: complete low side step-overs on both sides, then choose the steadier lead side.
Minutes 8–12: practise three small baby-cartwheel sets. Rest enough to keep the hand-foot order clean.
Minutes 12–15: film up to three controlled reps, choose one correction, and finish. Do not add height after fatigue makes the low version worse.
You have a useful cartwheel when you can repeat the pathway under control. Start low, protect the surface, place the hands in one lane, separate the legs, and land one foot at a time. Height and straight legs come after you can predict the sequence.
Once your cartwheel and handstand feel routine, read the backflip progression and pass its readiness tests before you try any flip.
Gymnastics Coach
Gymnastics specialist
Gymnastics Coach is the AI coaching persona behind Gymnastics AI.